Planning a Retaining Wall Beside an Existing Patio
If you already have a patio and you’re planning a retaining wall project, the space next to that patio changes almost everything. Many backyards are tight. A patio often takes up a big share of the usable ground. Before any digging starts, a construction survey shows you exactly where your property lines sit and where the patio ends.
How Patio Location Influences a Retaining Wall Project
Where your patio sits changes how a wall can be built next to it. A patio that runs along the back fence leaves a narrow strip for the crew to work in. A patio set closer to the middle of the yard might give you more room on one side. But it could leave almost none on the other side.
The shape of the patio matters too. A square patio is easy to plan around. An L-shaped patio, or one with a pergola or built-in seating, creates corners and blind spots. A builder has to plan around all of that.
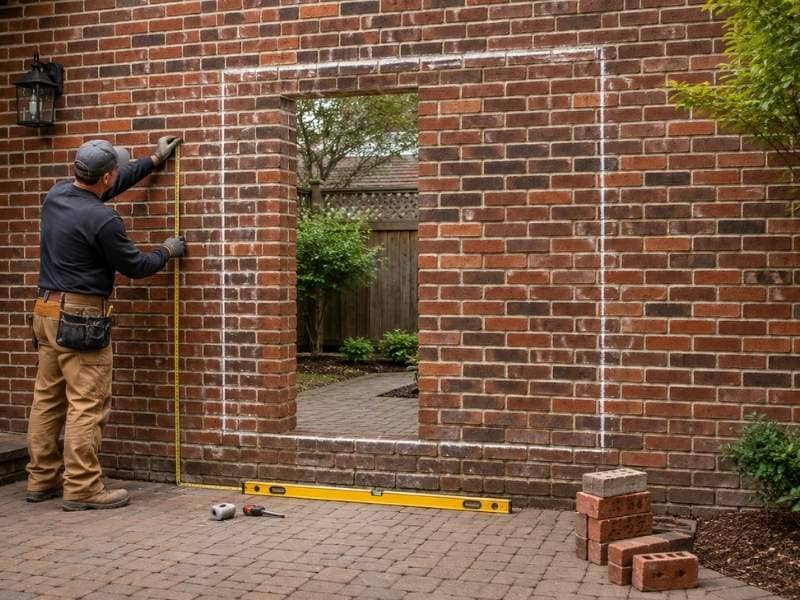
Start by walking the yard. Measure the space between the patio edge and the spot where the wall needs to go. Three feet of clear space is a very different job than eight inches. That gap decides how the crew moves equipment, stores materials, and digs without bumping into the patio.
Retaining Wall Access Challenges in a Compact Frisco Backyard
Frisco lots are often narrow. Side yards can be barely wide enough for one person to walk through. That’s a real problem when a retaining wall project needs stone, block, or gravel brought in from the front of the house.
A standard gate is usually 36 to 48 inches wide. Some machines, like skid steers and mini excavators, can’t fit through a gate that size at all. When that happens, crews carry materials in by hand using buckets and wheelbarrows. That slows the job down. Or the crew rents a smaller machine, which often costs more.
Tight access also limits where extra dirt can go. If there’s no room to pile dirt for a while, it has to be hauled away right away. That means more trips and more time. A good contractor walks the whole path into the yard before quoting the job, not after.
Retaining Wall Project Costs When Working Around an Existing Patio
Cost is one of the first things homeowners search for. It’s also one of the hardest things to pin down. A retaining wall built in an open, empty yard costs less than one squeezed next to an existing patio.
Labor is usually the biggest reason costs go up. Digging by hand near a patio takes longer than digging with a machine in open ground. More hours worked means a higher bill. Moving materials by hand instead of by truck adds cost too. When trucks can’t get close to the work site, every bag of gravel or block has to be carried in.
Protecting the patio is another cost to plan for. Plywood, padding, or temporary fencing can shield the surface during construction. That protection isn’t free. But skipping it can lead to cracked pavers or stained concrete, and fixing that later costs even more.
Digging near an existing patio also takes more care. Crews often find footings or drain lines that were never marked on any plan. Working around those hidden problems takes more time and slows the whole job down.
Small Backyard Retaining Wall Layouts That Preserve Patio Space
A retaining wall doesn’t have to eat into the patio you already enjoy. In a small backyard, the layout decides whether you end up with a cramped patio or one that still feels open.
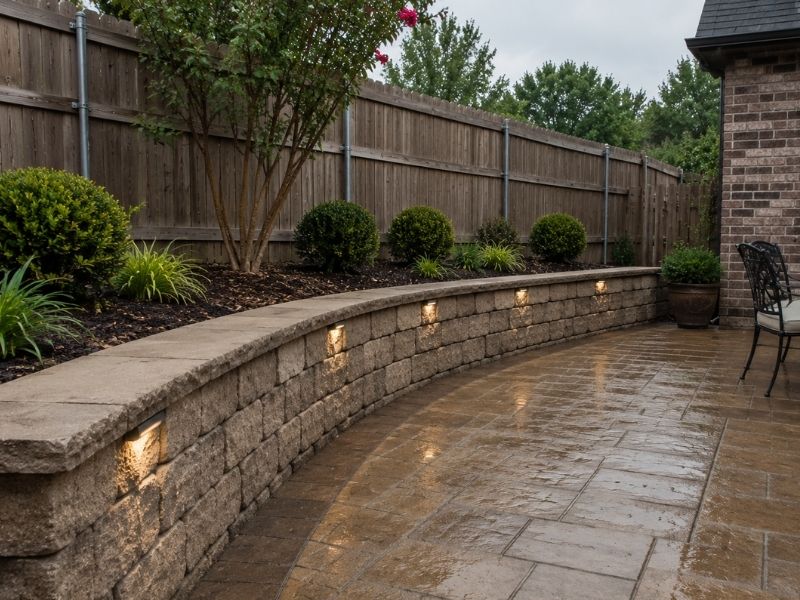
One option is stepping the wall back a bit from the patio edge, even by just a foot. That small gap also makes it easier to care for the wall later. Another option is curving or angling part of the wall instead of running it in a straight line. A curved wall can follow the slope of the yard without cutting into patio space.
Wall height matters here too, though maybe not in the way you’d expect. A slightly taller wall in one spot can sometimes take the place of two shorter walls. That frees up ground space that two separate walls would have used. Every foot you save in the layout is a foot you get to keep for sitting outside, grilling, or just walking around.
Protecting an Existing Patio During a Retaining Wall Project
The order that work happens in can make or break your existing patio. Starting to dig right next to the patio edge without a plan is how cracks and chips happen.
A smart plan starts with marking a clear work zone. That keeps equipment and foot traffic away from the patio surface as much as possible. Heavy materials should sit on a protected spot, not directly on pavers or stamped concrete. The weight alone can cause damage over time.
Shaking from equipment is another thing worth planning for. Packing down soil or driving stakes too close to the patio can loosen joints or crack a slab that looked fine before the project started. Spacing that kind of work out, or using hand tools near the edge instead of heavy machines, helps keep the patio in one piece while the wall goes up.
Once the wall is done, walk the patio surface one more time. That final check catches anything that needs fixing before the crew leaves the site.
Frequently Asked Questions
Can a retaining wall be built beside an existing patio?
Yes. A wall can be built next to a patio. The layout just needs to account for the patio’s edges, the space available to work in, and how close the wall footing will sit to the existing slab.
How does limited backyard access affect a retaining wall project?
Narrow gates and tight side yards can block larger equipment. That means more hand labor, slower material delivery, and sometimes a higher cost because the job takes longer.
What factors affect the cost of a retaining wall project beside a patio?
Labor access, moving materials by hand, protecting the patio, and digging carefully near hidden features all add to the final price.
How can a retaining wall preserve usable patio space in a small backyard?
Stepping the wall back a bit, angling sections instead of building straight lines, and raising wall height in certain spots can all help you keep more of the patio usable.
How do you protect an existing patio during retaining wall construction?
Mark a clear work zone, keep materials off the patio surface, and limit shaking near the slab. All of this helps prevent cracks and other damage during the project.