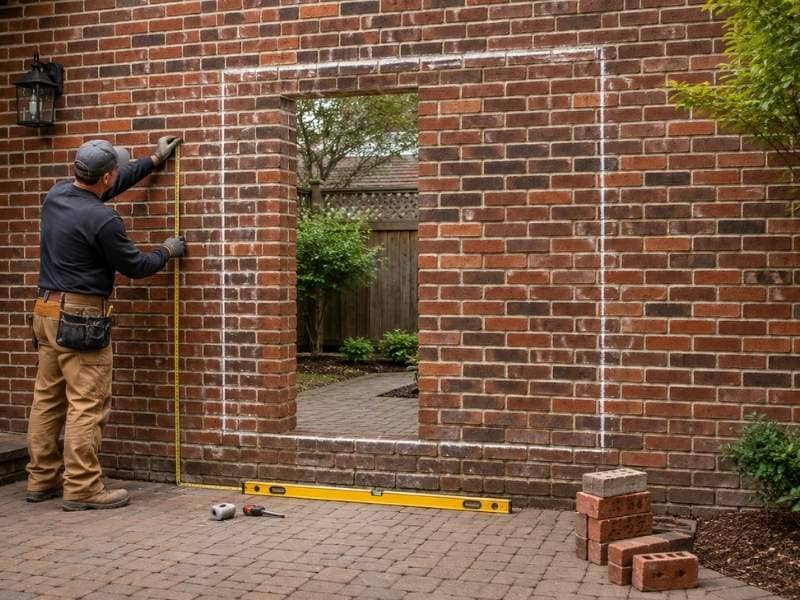
Established home updates can involve turning a window into a door, adding a new window for daylight, or creating access to a patio. Before any brick wall is cut, the opening needs a plan that accounts for the wall’s role, the surrounding materials, and a finished transition that keeps water out.
Cutting brick looks simple from the outside. Grab a saw, cut a hole, frame it in. In practice, a new opening touches structure, water management, and appearance all at once. Skipping the planning step is how a straightforward window swap turns into a leak two years later, or a door that never quite looks like it belongs.
Start by Identifying What Sits Behind the Brick Wall
Not every brick wall is built the same way. On a lot of homes, brick is a veneer, a single layer of brick standing in front of a framed wood wall, with a gap and a drainage plane between the two. On others, brick is part of a solid or reinforced wall system that carries more of the building’s load.
This distinction changes everything about the project. A veneer wall means the framing behind the brick is doing the structural work, so a new opening mostly involves cutting the brick and matching the header already planned for the framed wall behind it. A load-bearing or reinforced brick wall means the brick itself is helping hold the building up, and removing a section without the right support can cause real problems above the opening.
Before anyone marks a cut line, find out what’s actually behind the brick. A contractor can check this with a few probes or by reviewing existing plans, if they exist. Guessing here is the single riskiest shortcut in this kind of project.
Treat the Proposed Opening as a Full Wall Assembly Change
A new window or door is never just a hole in the brick. It’s a change to the whole wall assembly at that spot.
That means planning for:
- The window or door unit itself, sized to a standard that’s actually available, not a custom size that adds cost and lead time.
- Framing, since the rough opening in the framed wall behind the brick has to match the unit and carry the load above it.
- Support above the opening, in the form of a header or lintel sized for the span and the load coming down on it.
- Insulation, filling the gap around the new framing so the opening doesn’t become a cold or hot spot later.
- Flashing and exterior finish, tying the new opening back into the drainage plane and the brick around it.
Treating brick removal as its own separate task, apart from these other pieces, is how projects end up with a window that fits but leaks, or a door that’s watertight but framed wrong for the load above it.
Map the Brick Courses Before Choosing the Final Opening Size
Brick comes in fixed sizes, laid in courses with consistent joint spacing. A new opening that ignores this pattern almost always leaves narrow slivers of brick at the edges, or a top and bottom line that doesn’t match the coursing on the rest of the wall.
Before locking in a final size, lay the proposed opening out against the existing wall. Mark where it falls relative to:
- Full and half brick courses, so the cut lines land on natural joints instead of mid-brick.
- Nearby windows and doors, so spacing and placement look consistent from the street.
- Corners and trim, so the new opening doesn’t crowd an existing edge.
A few inches of adjustment in either direction, before any brick is removed, is the difference between an opening that looks like it was always part of the house and one that reads as an obvious patch. This step is worth doing on paper, or chalked out on the wall itself, before the first cut.
Plan the Water-Shedding Details Before the First Brick Comes Out
Water is the main risk with any new opening in a brick wall. Rain doesn’t just hit brick and stop, it works its way behind the surface over time, and a new opening creates a fresh path if it’s not detailed correctly.
Flashing needs to direct water that gets behind the brick back out, not into the wall cavity. Weep holes need to stay clear so trapped moisture can drain. Sealant belongs at specific joints, not smeared everywhere as a catch-all. Trim around the new window or door has to work with the flashing underneath it, not sit on top of it as an afterthought.
The right combination of these details depends on the wall assembly identified in step one and on the specific window or door product being installed. A generic approach copied from a different house or a different wall type is a common source of leaks that show up long after the crew has left.
Make the New Opening Look Intentional From the Street and Patio
A well-planned opening doesn’t just perform. It looks like it belongs.
Headers should line up with existing window or door heights nearby, not sit at a random level that breaks the rhythm of the wall. Trim should match, or intentionally complement, what’s already on the house rather than introducing a new style with no connection to the rest of the exterior. Brick around the new opening should match the original in color and texture as closely as possible, since a visible seam between old and new brick is one of the fastest ways to make an addition look like an afterthought.
Small choices, like keeping the same joint width and mortar color, carry a lot of weight here. Get them right, and a new window or door reads as something the house was always meant to have. Get them wrong, and even a structurally sound opening looks like a patch job from the sidewalk or the backyard.
